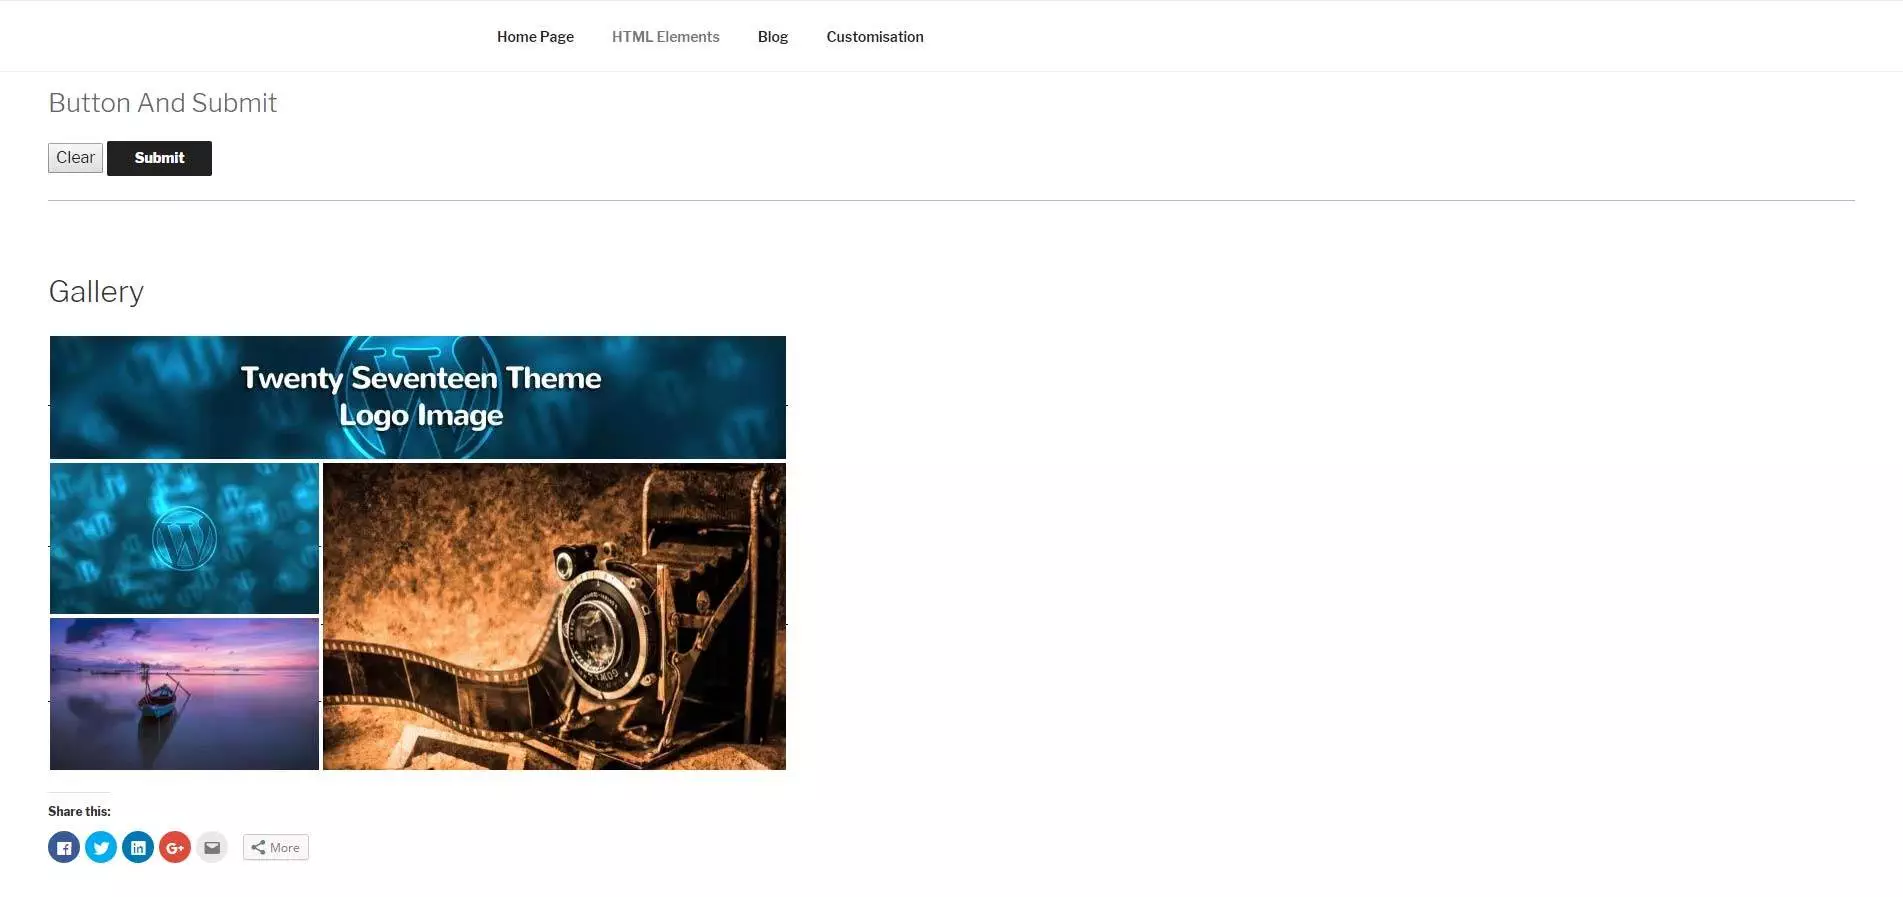
The default width of the Jetpack gallery is usually defined by the width of the main content area. You can make the main content area full width, and then make the Jetpack gallery full width.
- Note: First make the overall main content and sidebar areas full width.
Click here to find out how to make the Twenty Seventeen main content and sidebar areas full width.
The default width of Jetpack gallery displayed in a full width content area.
The Jetpack gallery full width of the main content area.
Where and how to make the Jetpack gallery full width:
- Make sure you are using a child theme for Twenty Seventeen on the server. Click here to learn how to create a child theme.
- Create a new file in your preferred text editor (I use EditPad Pro) and add the following PHP code to the file.Note: the number 1920 that appears in the two places in the code defines the maximum width of the gallery. If the content area is narrower then the gallery width reduces to that narrower size. You may want to play around with this number but keep it the same in both places.
<?php /* tiled gallery set to 1920 pixels wide */ if ( ! isset( $content_width ) ) { $content_width = '1920'; } function jeherve_custom_tiled_gallery_width() { return '1920'; } add_filter( 'tiled_gallery_content_width', 'jeherve_custom_tiled_gallery_width' ); ?> - Save the file and name it functions.php
- Upload this file to the folder of your child theme at WordPress Root > wp-content > themes > twentyseventeen-child
That’s it.


Leave a Reply